Chow down with Aviary's New Foodie Stickers

Looking for a way to spice up your food photography? Check out the latest addition to the Aviary shop - Foodie stickers! Beautiful and fun word art graphics to add to photos of your favorites meals and culinary experiences. 

android_detail.jpg
Photo Sep 12, 4 51 12 PM.jpg

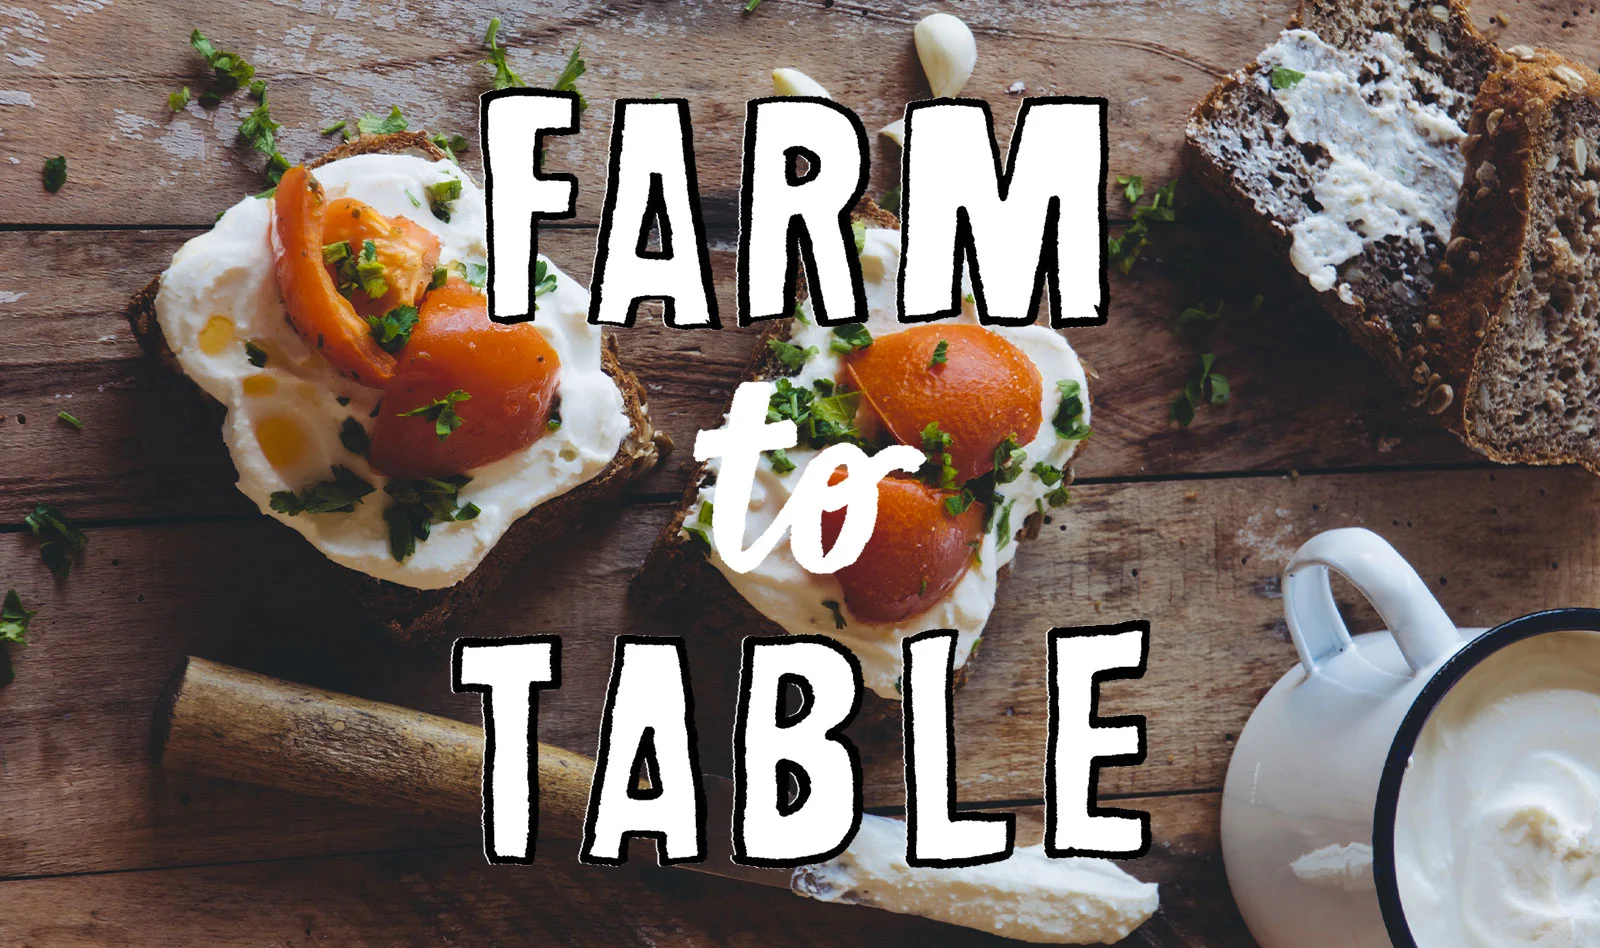
Use them together with our Foodie Effects pack to create mouthwatering shots and give all your friends a serious case of food envy. Bon appétit!

Feature Highlight: Splash

Did you know you can use Aviary to make color splash photography? The Splash tool lets you highlight certain colors in your photos while leaving others in black and white. 

If you scroll a little way over in the tool tray, you'll find the paint bucket icon for the Splash tool.

  • Free color lets you fill in wherever you tap/brush
  • Smart Color only fills in the first color you touch
  • If you accidentally color outside where you intended, use the Eraser tool to bring it back to black and white. 

And of course you can jazz up your color splash photography with simple word art stickers like this one from the Love pack. 

Happy editing!

Gear up for Fashion Week with Aviary

New York Fashion Week is in full swing and we're bringing you a special sticker pack for the occasion. Introducing the Fashion Sticker Pack - chock full of stylish word art, graphics, and Instagram-ready hashtags to help you create your most on point, stylish selfies.

Here's the fashionable Shiba Inu Bodhi of Menswear Dog edited on Aviary with Runway Effects and stickers from the Fashion Pack. 

If you are using Aviary on iOS, you can also buy the Fashion Stickers in the Fashion Week Pro bundle alongside Angle Frames and Runway Effects at a discounted price! 

Monitoring a Scaling Infrastructure at Aviary

Serving photo editing effects, frames, and stickers, as well as photo editing tools to millions of users around the globe requires an infrastructure that can grow as demand grows, and a tightly integrated platform to monitor it. At Aviary, we leverage both Amazon’s large suite of tools as well as a number of third-party and custom products to ensure all our environments are operating at peak performance as well as to catch potential issues before they affect our end-users.

NAGIOS

At the core of our infrastructure monitoring platform is the well-known tool, Nagios. We run Nagios with a custom frontend known as Opsview, which provides a clean user interface for the management of hundreds of hosts, as well as an API which we use in our autoscaling environments. At its most basic level, Nagios is an infrastructure monitoring platform which can be endlessly configured to perform checks on various aspects of the infrastructure. At Aviary, a majority of these checks are performed against Amazon EC2 hosts and include disk and memory usage, CPU load, network traffic, and, in the case of hosts serving web pages, page response time. We have assorted other checks in place that test other infrastructure components such as the availability of S3 buckets, expiration dates for certificates, and DNS.

AN AUTOSCALING CHALLENGE

While Nagios is a very configurable system...

5 Experiments To Help You Find Your Signature Shot

Have you ever scrolled through a friend’s photos and thought, “Wow, they have such a great eye. Why don’t I ever think to take photos like that?”


If you find yourself experiencing pangs of camera roll envy rest assured there are a few tips that will help you shape up your technique. Here’s a very basic beginner’s primer on experiments that will lead you to develop interesting shots and help you find your style:


1. Get up close-


  • If your subject does not exceed the size of a horse or car then try taking a couple steps forward. The more of your frame you fill with the subject the more interesting the photo will be. If you use the zoom feature on your phone too much you could get a grainy or blurry photo so try to move closer first.


2. Move it out of the center-

  • Rather than feature the primary subject in the middle of your frame, imagine a grid (like a tic-tac-toe board). Experiment with the main focal point being at the cross section of two grid lines or even off a bit into other quadrants of the photo.


3. Try using your flash outdoors-

  • To avoid potentially ugly shadows on your subject experiment with the flash settings on your phone. Try using the flash while it’s sunny outside and notice whether or how light is dispersed differently than if you hadn’t used the flash. See whether you need a big bright flash or whether your phone has a way for you to use a fill-flash setting.  


4. Don’t stagnate/Be dynamic-

  • Do you love straight on shots? Why not try shooting from a birds-eye view or an ants-eye perspective? Have you thought about asking your subject to move or propping the subject against varying backgrounds? Discover for yourself whether those snacks look most enticing against a white or wood background. By comparing various sources of light, varying distances to your subject, turning your phone from horizontal to vertical (and visa versa), moving to totally different locations you’ll understand how you like to see your subjects and develop your style.


5. Compare editing to applying filters-

  • Do as much as you can in your composition process but don’t be afraid to get real artistic post-production. Save your original photos to your camera roll but then go ahead and try cropping, enhancing, and focusing to find your preferred style. Sometimes you may be surprised at how simple editing could change the look and feel of your image while other times slapping a moody filter could give you just the look you love.


Now that you have a few tools in your backpocket go out and start capturing the universe! Remember that all rules can be broken and to have fun. Try out a variety of techniques until you find your style and then show it off proudly.

Aviary Craft Club: Art of the Spud

Here at Aviary, we are all about expressing and exploring creativity. Twice a month, we host a Craft Club to challenge our team to think outside the box and reconnect with the juvenile joy of arts and crafts.

For this week's project, we carved potato stamps. 

See our handiwork below - Conor crafted a stamp of his initials and a smiley, Kat and Swati made letters and shapes, Kristen carved a psychedelic eye, Ari lit up a lightblub, Joe took a stab at the Sierpinski triangle and Eunsan made Adventure Time's Lumpy Space Princess. 

If there's anything we learned today it's that potato carving is a delicate art! 

Guess Who’s On the Cover of Seventeen . . . you!

It's with no small amount of delight that we announce our partnership with Seventeen on the launch of the Seventeen for iPhone app, where Seventeen readers can get instant fashion, beauty and celeb updates straight to their phone. Of course our favorite feature is the 17 Photo Booth, powered by Aviary.

Screen Shot 2014-08-21 at 2.51.27 PM.png

Using the 17 Photo Booth, the Seventeen App community can now create and share stylized selfies that make them a cover star of the mag’s latest issue. An easy to use (and totally free) custom sticker pack makes creating your own Seventeen cover a snap, and other familiar tools from Aviary like Blemish, Whiten and RedEye are there to help you polish your pic like a pro. 

The best part—aside from being able to make your own Seventeen cover in the 17 Photo Booth—is that this app is free.

The release of the photo editor – featured in this month's issue of Seventeen Magazine – coincides with the launch of Seventeen's Photo Booth Selfie Cover Contest going on now through Sept. 15. The winner of this contest will receive a $1,000 shopping spree, courtesy of the folks at Seventeen. Get your cover selfie on by downloading the Seventeen app for iPhone in the App Store today, then share your shots with the hashtags #17selfie and #17app! 

 In the meantime, check out some of the amazing shots Seventeen fans have already created in the 17 Photo Booth!


Effects Intensity Comes to Photo Editor by Aviary for Android

We're thrilled to announce that today we're bringing effects intensity to Photo Editor by Aviary for Android, v3.4.7. You may recall that last week we released this very same feature in our iOS app, which lets users get the most out of our powerful effects by tweaking them to a specific strength. It's an incredibly simple and easy to use feature that adds a ton of value to our most popular tool.


To adjust the intensity of the effect, all you have to do is slide your finger up or down on your photo while you have an effect selected. This will bring up an intensity slider that fills and empties as you slide, indicating the strength of the effect. It's that simple.

This update also includes some important bug fixes and other optimizations. Please let us know what you think on Twitter. We hope you love it!

Want to get these updates in your inbox? Sign up here!

Express Your Passions and Creativity With This Free Collection of Photo Editing Tools

Have you ever thought about why you make healthy choices? You probably have lots of reasons, from the people you love to the adventures you’ve yet to cross off your bucket list.

The American Heart Association and American Stroke Association help you capture the reasons why staying healthy in heart and mind is so important, so they're giving away free, limited edition, photo editing tools in Aviary that help you do just that.

Find the free stickers, filters, and frames in Aviary for iOS and Android - just look for the Life Is Why icons in the Supply Shop!

Learn more about the American Heart Association/American Stroke Association and the Life is Why movement here!


Learn more about the American Heart Association/American Stroke Association platform rollout and strategy for Life is Why as featured in Ad Age

Want to get these updates in your inbox? Sign up here!

Introducing Effects Intensity in Photo Editor by Aviary for iOS

Today we introduced a small, but important feature to Photo Editor by Aviary for iOS, v3.4.1: effects intensity adjustments.

We've heard from many of you about how much you love our awesome effects. But we've also heard how sometimes you want the creative freedom to alter the strength of those effects. With today's update, now you can.

To adjust the intensity of the effect, all you have to do is tap on an effect once you have it selected. That will bring up a simple intensity slider that you can move up or down to your liking. Click 'Apply' and you're good to go with another beautiful photo.

In addition to this feature, we've also fixed some bugs and re-introduced the ability to share and Print to Walgreens from the app's home screen. Just tap and hold on any photo in the grid selector and you'll see a small menu of these options.

Have you checked out the update? Hit us up on Twitter to let us know what you think of the new effects intensity feature!

Want to get these updates in your inbox? Sign up here!